
Setting up the Environment (Primary)
I've been working with Libertas Public Montessori School in Memphis. One of our many projects is to open a new Primary class. So, I've been investing a great deal of time in looking at material suppliers, thinking about plants, and measuring heights for tables and chairs. Since I know I'm not the only one doing this work, I decided to post my thoughts and discoveries here so we can all benefit...and maybe get a few of you to post some replies!
Nature
Sometimes our space has many low windows that bring a gorgeous natural landscape right into our classrooms. Sometimes, we have cinder block walls up to a drop ceiling. We have to work with what we have but in all cases, we must prioritize the natural world. Not just because I say so, but because research shows that views of nature have significant effects on attention and learning.
If you have windows with views of nature, showcase them. Put your easel right in front of them. Set many tables so that they look out on the vista. Banish your curtains and shades unless the sunlight is blinding.
If your windows look out on a parking lot or a busy walkway, hang half or quarter curtains. You want these at about 4-5' high and extending just to the window sill. The objective is to protect the child's attention by blocking unsightly or busy views while still letting in as much natural light and sky views as possible. Make sense? 
If you don't have windows, bring nature in. Get plants that will grow in the lighting you have,... lots of them. Give serious thought to a large fish tank or other pet terrarium. Minimize your use of fluorescent overhead lights and invest in lamps with those great bulbs that mimic natural light. (Be mindful of the cords, though. Keep those safely tucked away.) Build a canopy out of sticks. Get creative and find ways to make your classroom alive with the natural world. (Click on the photo for links to more ideas from childroots.)
Tables & Chairs
In general, you want enough work tables with chairs to accommodate about half of your students during the work period. So, if you'll have 28 students, you'll need:
- Two to three larger tables (one for snack, one-two for work) to seat 2-3 children/table (approx. 48"L x 24"W and 20"H) (Bruins Montessori has nice ones; click on the photo for a link)
- 8-11 individual work tables approx. 30"L x 20W
- Some around 18" high with one 10" high chair (for 3-year-olds)
- Some around 20" high with one 12"high chair (for 4-5 year olds)
- Some around 22" high with one 14" high chair (for 6 year olds)
 So, you may be wondering, why the heck does she want us to have so many individual work tables instead of larger group work tables? How could I possibly fit those into my classroom? Good questions! First of all, remember that at the primary level, most of the work is one-person work (individual). This is because the young child is still learning about social behavior. Learning to effortlessly navigate through social encounters is work in and of itself. In Montessori, we are always trying to isolate the difficulty and encourage concentration and persistence. If we put lots of children together at a work table, they'll more likely be working on social interaction than on the work before them.
Now, don't get me wrong, social interactions are hugely important and strongly encouraged in the Montessori environment. That's why we have the sensorial games or the collective bank games. That's why we have three chairs at the snack table. That's why we do spoken language and grace and courtesy lessons that give children models and reasons to speak up. But, when its time to focus on the sandpaper letters, it's best to let them have a table all to themselves.
Okay, back to tables and chairs. If you're going to be eating in the same room that you work in, you'll need to move all those one-person tables so they can become 2-person tables and add a chair for each. You might prefer to bring out a short-legged long table and put a table cloth on it instead (as shown in the Montessoriguide.org video above). That's up to you but be sure you allow time for setting up lunch in your daily schedule...and teach the children how to do it with you (and, ultimately, without you).

Also, don't forget an observation chair. You need one that is permanently in the room for you to use (because I know you are sitting down for 15 minutes everyday to scientifically observe the children, like a good Montessori guide). Guests can also use this chair when they visit but you may need a few grown-up folding chairs that you can pull out to accommodate a few more full-size folks.
I also love, love, love to have a little teacher stool. I used to always use my stool to give lessons at a table. It was just about 12" high so I could sit right next to the child but it was smaller than a chair and had no back to get in the way of my long arms and knobby elbows. I got mine at Ikea (click on the photo for a link).
Shelves
In my fantasy, no budget-limit classroom, I would get those curvy shelves from Community Playthings (click on the photo for a link). I prefer an open back for shelves that are not against a wall so that I can see what's going on all around the room. I don't want to block my line of sight just in case someone gets a little mischeivous. For the walls, though, or if I'm putting two shelves back-to-back, I definitely want a backing on them. Hello Wood down in Tennessee makes some beautiful shelves. I prefer the maple or the baltic birch.
But, if you are on a budget, there is absolutely nothing wrong with building your own shelves. At my AMI training center up in Montreal, they used bricks and boards. These shelves looked quite nice and you could change the height of your shelves simply by adjusting the number of bricks. I suppose you could cement them together somehow to prevent a topple risk but I haven't tried it myself.
The point is, you can find a way to make something beautiful and functional no matter what your budget is. Just remember that you are going for beauty...natural wood or pale paint tones are best. Once they're in your room, keep them clean!
How many shelves do you need? This can vary significantly based on your materials, shelf sizes, any funky classroom architecture you need to work with, and on what other furniture you have in the room (see the table below). The following table has some very general guidelines that you will need to customize, but it is a starting point.
| Practical Life: 5 Shelves+ |
|
| Cultural: 2 Shelves+ |
|
| Sensorial: 4 Shelves+ |
|
| Language: 6 Shelves+ |
|
|
Math: 4 Shelves+ |
|
| Storage |
|
Montessori Materials
I wish I could tell you to just go to XYZ vendor and you can get everything you need, but I just haven't found that to be the case. Even the best manufacturers have some materials that I don't find to be quite right. So, you have to shop around. Here are a few things to keep in mind when you do.
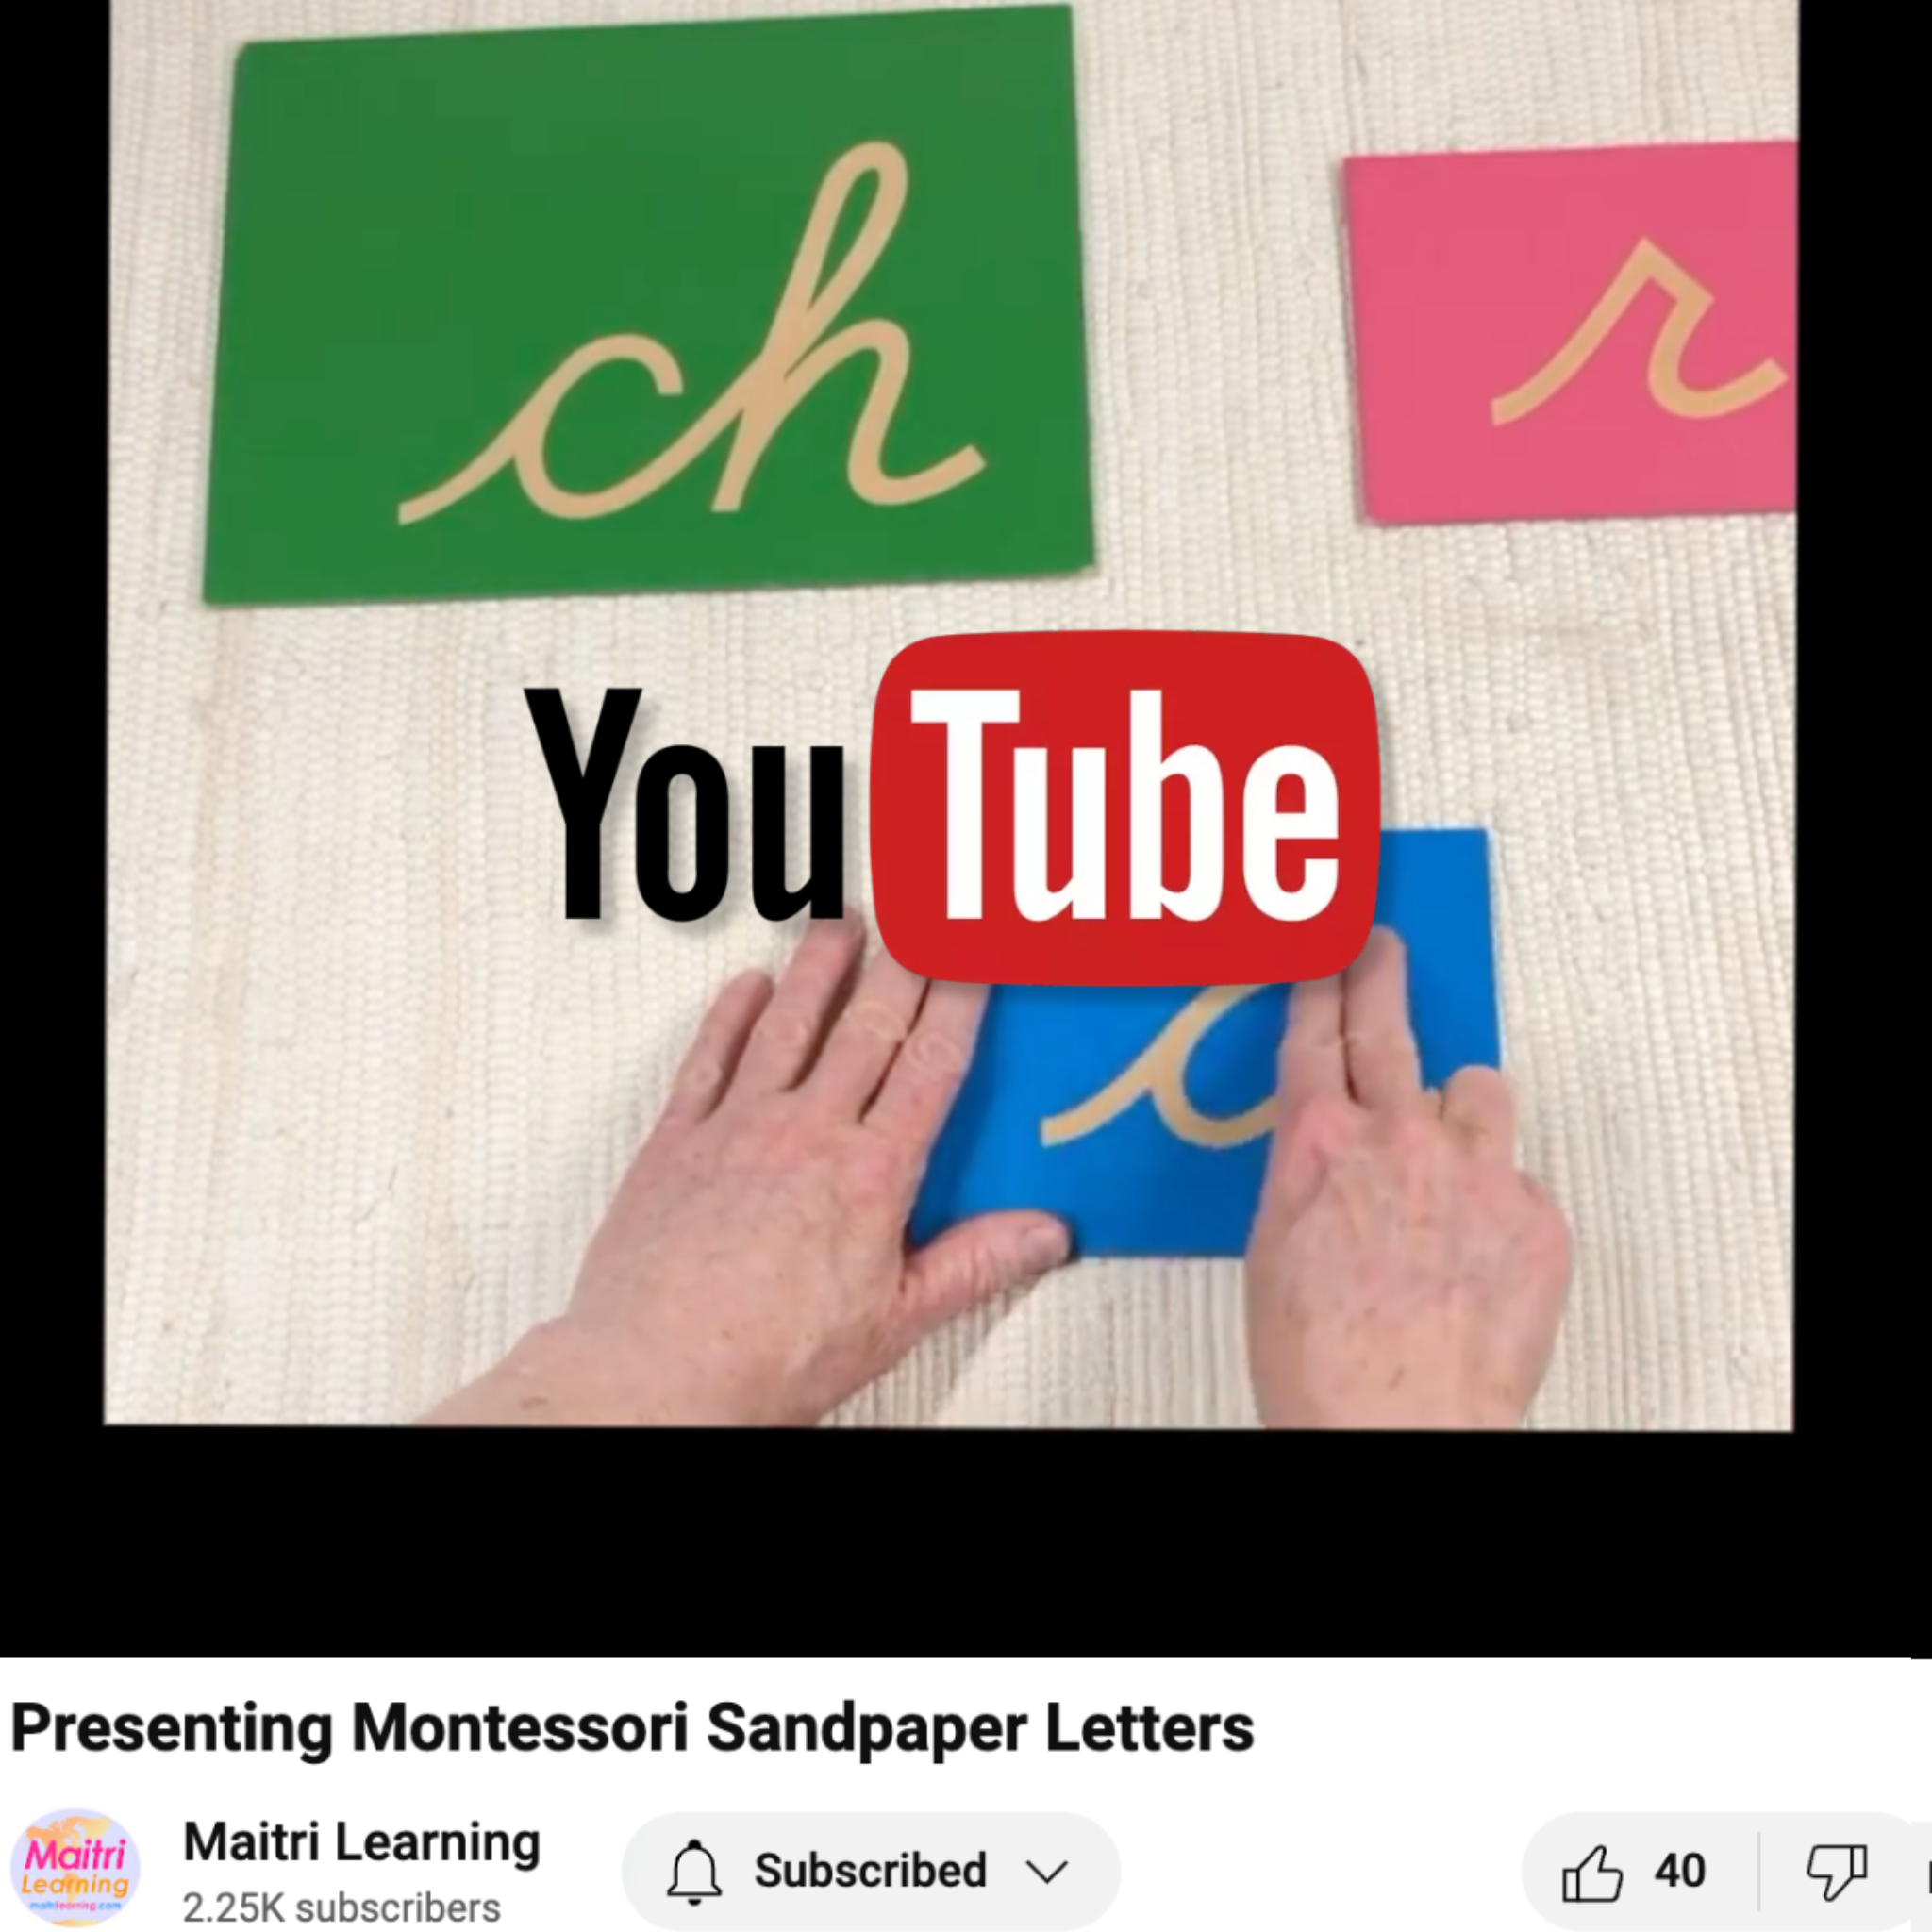
Alphabets & Sandpaper Letters. For many reasons, I am a cursive fan...a HUGE cursive fan. So, unless your school district will brandish you with a scarlet C and tie you to a stake in the desert, use cursive! That means your sandpaper letters and your large movable alphabets should be in cursive. If you are required to use print or D'Nealian, then both your sandpaper letters and large movable alphabets must match.
When I say match, I mean that if your letters are pink and blue, your alphabets must be pink and blue. And for goodness sakes, do not get sandpaper letters that include a baseline or any dots or others markers on them to indicate top and bottom. Why? Because the child is learning the entire visual field of what is isolated before him as the symbol we are presenting. We want to ease their transition to the movable alphabet by having the alphabet look exactly like the sandpaper letters...we must, in all things, isolate the stimuli so that we do not inadvertently complicate things. While some children won't stumble on these things, some children will. Make sense?
With that in mind, you don't want a box that forces you to put two stacks of letters side-by-side in the same compartment. This makes the letter look like a whole new symbol...so it complicates things. This won't matter for every child, but it will certainly matter for some. Also, as for letters, you ideally want 10-15 of each consonant and 15-20 of each vowel/high frequency letter. And if your sandpaper letters are pink and blue, then your alphabet should be pink and blue (not red and blue). Don't be afraid to be persnickety! The children will benefit.
Geometric Cabinet. Make sure you get the demonstration tray as well as the cabinet with 6 drawers. I like the yellow/blue cabinets because the blue reflects the blue of the geometric solids. With that in mind, I suggest that you get your geometric cabinet from the same vendor as your geometric solids. And buy touch up paint when you purchase them along with some replacement knobs. But buyer beware, some of the discount suppliers make their geometric cabinet cards in a dark blue but their geometric cabinet shapes in light blue! You don't want that...
Bead Materials. Get all of your bead materials from the same vendor and get individual beads, not fused. Everyone would love those gorgeous glass beads but if you don't have the budget, nylon will work. Just don't get the fused ones because they won't stack up and don't really display the idea of individual units coming together to make a larger quantity.
Now when I say all of your bead material, I mean ALL bead materials. That includes golden beads, teen beads, tens beads, chains, multiplication bead box, and snake games. You classroom should not have a single math bead in it that is not the same size and proportion as all the rest. The children will not seamlessly understand dynamic exchanging if you're showing them that 10 elliptical beads are supposed to be the same as 10 smaller spherical beads of 8 different shades of gold. See what I mean? Don't compromise on this one and buy extras along with jewelry pliers so you can make repairs if you need to.
Puzzle Maps. Just as with the beads, you need to get all of your physical geography maps and globes from the same vendor. North American has to be the same orange on the colored globe as it is on the continent map and the oceans all have to be the same blue. And take a good look at the colors before you order...some of them are kind of weird. Be sure you buy some touch-up paint, spare knobs, and have hot glue handy to replace any knobs that come loose.
Things you Don't Need
Now there are a few things I haven't listed that you might have in your classroom or that you might be considering. Here is where my personal bias, peculiarities, and pet peeves will make themselves known! Beware, Julia's personality is about to illuminate the blog!
Practical Life Sets. I have not yet purchased a "set" that I did not have to amend in some way. You are better off creating your practical life activities yourself. Budget for it! Especially trays. No vendor I know of sells the small ones you really need for the preliminary pouring exercises. I've found mine in home stores, tag sales, and museum stores. Get tons, light colors, subtle patterns, and smooth handles.
Vinyl Smocks. I admit it. I had these in my classroom and we used them all the time. We rolled them carefully, wiped and dried them, and did lessons on how to take them on and take them off. And even with all that care, they looked like Sugar Honey Ice Tea! The edges tore away from the vinyl. They acquired stains. The elastic stretched out to the length of a boa constrictor. The velcro became littered with I don't even know what. Don't waste your money.

I counted up how many aprons we needed for Libertas and I got 15, some waterproof and some cloth. Maitri Learning now makes these apron and mat sets. But, if you have a good seamstress at your school, you can use the apron sewing pattern posted by Sew Liberated. Have some tie and some velcro aprons; buttons are also fun.
Modular Rug Holders. I don't see any reason to spend your money on these. I prefer to use a big hearth basket. You know, like a woven or brass U-shaped container you might put a few logs in at your fireplace. It takes more care and effort to keep the rugs tidy in a hearth basket and, quite frankly, that is a good thing. Whenever you have a little firecracker roaming on the edge of mischief around your room, just entice them over to that messy rug basket and put them right to work! And if you use a brass one, you have another thing to polish. Perfect.
Number Rod/Red Rod Stand. The problem I have with these is that they don't show the bottom of the rods. These materials are meant to isolate the concept of length but in the stand, you can't see the full length. On top of that, the ends get really beat up from being dropped into the stands (accidentally, of course). I prefer to put them right on a shelf. If they have to go on a top shelf, just tack a thin piece of molding to the top and left side of the shelf to act as a control of error and prevent them from slipping over the edge.
Child's Question Chair. Sometimes you'll find a classroom that has a special chair set aside for children to sit in when they have a question. They're given a lesson on how to go over and sit down and wait for an adult to come over and help them. But, instead, I would recommend that you give them lessons on how to politely ask for help, from an adult or another child. Too many times, I've observed in classrooms that use this chair but the adults are so busy they can't get over to it and the child is sitting and sitting and sitting. We want the children actively figuring out how to overcome obstacles, not waiting for someone else to solve their problems for them. So, if you have this chair in your room, put it aside and use it at lunch.
Tape Ellipse for Walking on the Line. After the first weeks of school, I have never been in a classroom that used a tape ellipse that had a nice, untorn, unpeeling ellipse on the floor. So, you can either buy plenty of cloth tape so you can replenish your line regularly, or, if you have a darkish, low-pile rug (grey works), I have a great alternative for you: chalk. Take half a piece of chalk and draw your ellipse using the side of the chalk. You might have to go over it once (it depends on your rug). You will notice that the chalk wears off as the day goes on and that when the rug gets vacuumed, much of the chalk comes up. No problem, just draw it again each morning. Later in the year, you can show the older children how to draw it. When they are normalized/regulated, you can free them to draw an amoeba-like path that snakes around the tables and shelves. This is a wonderful way to keep this essential activity alive and fresh.
Sand/Water Table. You may have inherited one of these and figured, well, why not? I think it's fine to have in the classroom for a week or two at the beginning of the year just as you would have transitional baskets of blocks or legos out. Keep it out just until the children start to self-regulate. Once they have had enough lessons that they have things to do, take it out of the classroom. If you live in a warm climate, you can put it on the playground. If not, give it to your afterschool program. You have better things to do with that room real estate.
Stuff that isn't in your Album. There are two points I want to make here. First of all, that if you had a strong training, what you need is already in your album. Second, if it isn't in your album, you need to think about it, analyze your movements, plan your precise presentation, write it up, and include it in your album before you put it on your shelf. Cappisce? And, if you don't trust your album, get our Maitri Learning albums.
Okay, that sums up the big points that have come up in my latest prepared environment planning interlude. Please add your thoughts and comments below so we can have a useful and lasting dialogue on this critical part of Montessori.
Photos all linked to their source on the web.


6 comments
In this blog, you beautifully describe the calm, intentional, and purposeful learning environment of a Montessori prepared environment.
kidscastle
@Naomi: Great question. I’m referring to the number of shelving units, assuming an average of three shelves/unit. However, there is definitely variability. For example, in sensorial, some people purchase special shelves that includes space for the pink tower. In Language, if you are tight on space, you can get everything down to just a couple of shelves but you have to rotate materials every day! The late great Annette Haines once shared a photo with me of how she handled language in a ridiculously tight space in a public school with just two shelves! So, these are really perfect world guidelines if you have oodles of space. If you don’t, then you can apply the principles you learned in your training and find a way.
Julia Volkman
Hello – great article! I am wondering when you are talking about numbers of shelves are you talking about a shelving unit or one single shelf?
Naomi
I was reading this with interest and agreeing with some statements, disagreeing with others but when I read at the end the “Stuff That Isn’t In Your Album” paragraph – oh boy, I know you are SO RIGHT in this, and it means I have a lot of work to do. Thank you.
Allison Dodrill
Rah, that is so cool. Please post back and let us know what worked and what didn’t!
Julia Volkman
Julia, I feel like an old friend is giving me the skinny on this vital topic. Thank you. I am about to set up my first-ever room as the lead Primary teacher. This is a big help.
Rah Bickley
Leave a comment
This site is protected by hCaptcha and the hCaptcha Privacy Policy and Terms of Service apply.